Intro:
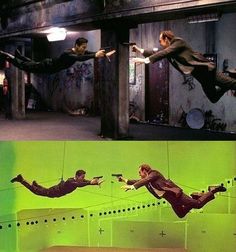
In today’s lesson we were introduced to a new unit (see title of blog post), and discussed the differences between both special effects and visual effects.
The difference being that special effects (also known as practical) are what’s done to the scene or actor before filming, this can include mechanised props, make-up, scale models or even devices to create atmospheric effects, such as using a fan to simulate the wind in the scene. In short, they are anything that isn’t computer generated.
However visual effects are what’s done behind the scenes and added to the footage separately. An example being the dragons in HBO’s ‘Game of Thrones’, these are modeled, rigged and animated by a team separate from the filming crew.
Exposure (What is it?):
Later on in the lesson, we were taught more about exposure in filming and photography.
Exposure is basically how dark or light your shot will be, its the amount of light that your camera takes in. The outcome of this can be changed by adjusting three things before taking your shot
– The aperture (also known as f/stop) is the size that the lens opens up to, the lower the f/number, the larger the lens open allowing for more light, meaning that a higher f/number would allow for less light
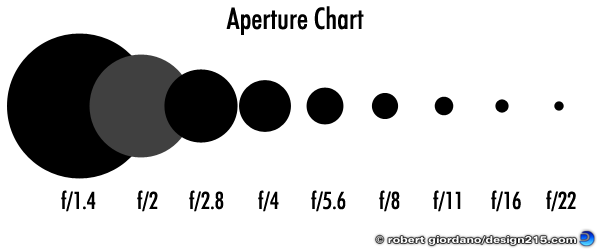
The more light allowed in the shot also means for more elements in the image to be left blurred like the background, however the smaller the aperture means for less light, and results in a more focused and detailed shot.

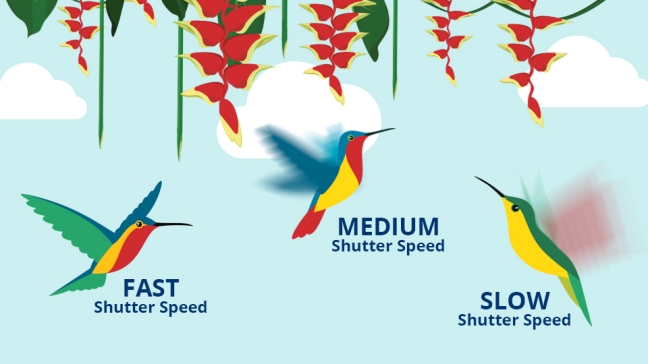
– Shutter Speed is the amount of time the camera’s shutter is open, the less time it is open for the darker the image, this is because there’s less time for the camera to take in the light. This means that the more time it’s open for allows for a more brighter image, but of course it will also be more blurred. If there are elements of your shot in motion, a quicker shutter speed may be more effective as less ‘ghosting’ will take place.
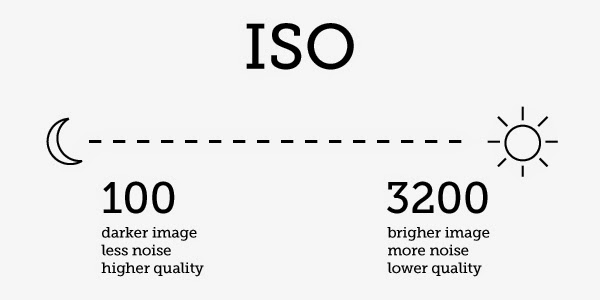
– ISO is the sensitivity of the ‘image sensor’ to the light, the lower the ISO the less sensitive it is to the light in the shot, but have it be too low and the picture comes out grainy, you’d have to find a good balance to prevent this from happening in your pictures or footage.
Why is any of this important?
Image quality and exposure in VFX is very important, as the better quality the final result is, the more easy it will be to edit in post-production, it will be more cost and time-effective to edit footage with poor quality.
Our own pictures:
Using a website called http://camerasim.com/apps/original-camerasim/web/
I created my own pictures to use as examples for exposure and depth of field. I could create these by messing around with the tools to affect the shot and subject.
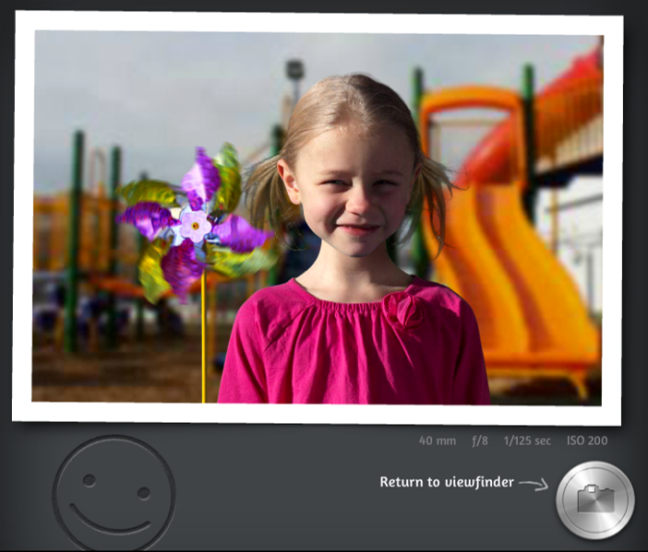
Exposure:
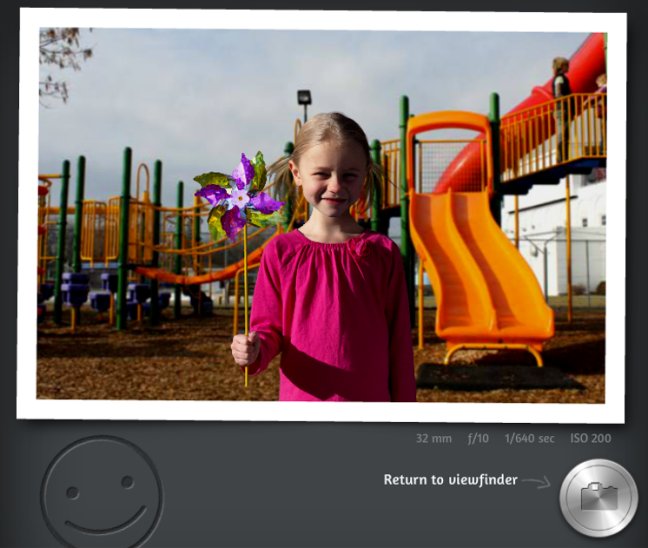
This is what the picture should ideally look like, and above we can see the settings I used to capture this shot, with not a lot of light being captured and not too little, we find a good balance.
Below we will find a washed out image.
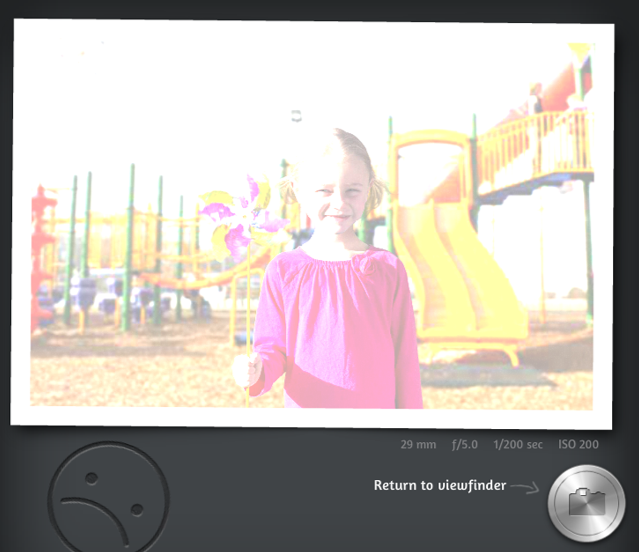
This is caused by there being too much light in the shot.
As opposed to the below image, where will find the exact opposite of this image.
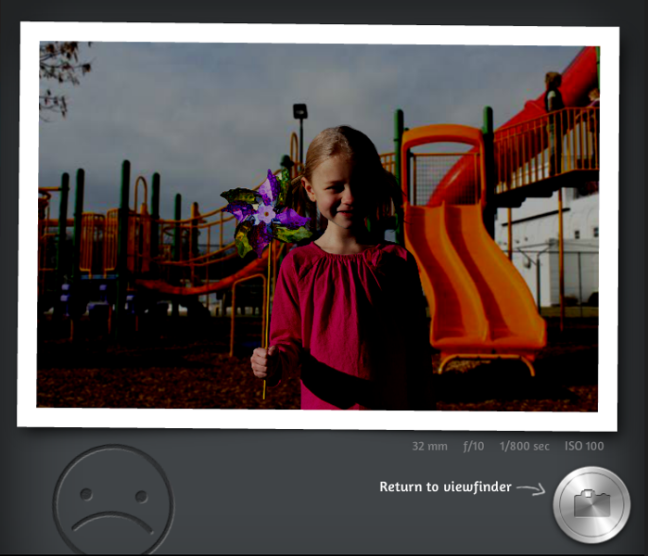
This has been caused by there not being enough light in the scene, and the shutter speed being to quick to process the high intensity.
Depth of Field:
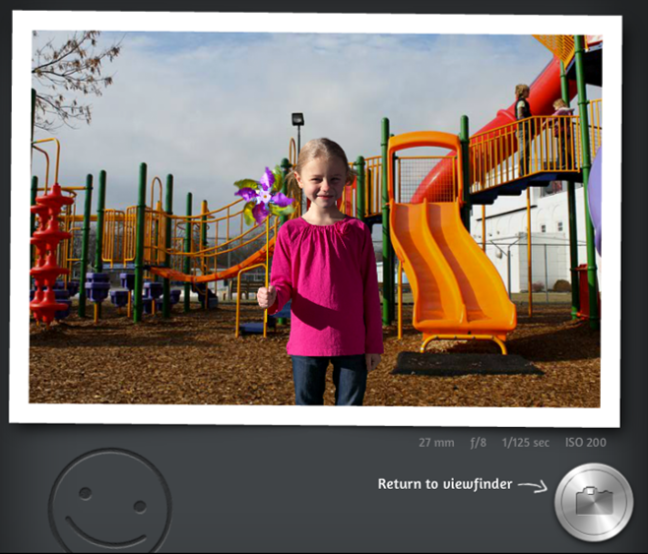
Here we find a picture with depth of field being shown, the picture is only slightly blurred, it would be more clear if the camera was focusing on just the background.
Here we see the background even more blurred due the focal distance compared to the last one.
